How to Build a Small Storage Shed from Wood Pallets (Cheap, Simple, and It Does the Job)
Simplifying my life started with a simple assignment: get the tools out of the house. Problem is, I don't have a workshop or a barn. What I had was a pile of wood pallets, some screws, and a free weekend. I built this one back in 2021 — it's still standing and still holding every tool I own — and this version carries what five years of living out here taught me since. If you're in the same spot — tools laying around, nowhere to put them — this is the cheap, simple way I built a small backyard storage shed, and it's been doing its job ever since.
What you need: Tools: hammer, tape measure, 90-degree ruler, saw, pliers, level. Nothing exotic. Materials: ten wood pallets, a pack of 3-inch and a pack of 4-inch screws, wooden frames, wooden rafters, varnish or paint, and doorknobs if you want them. That's the whole list — most of it comes off the pallets themselves.
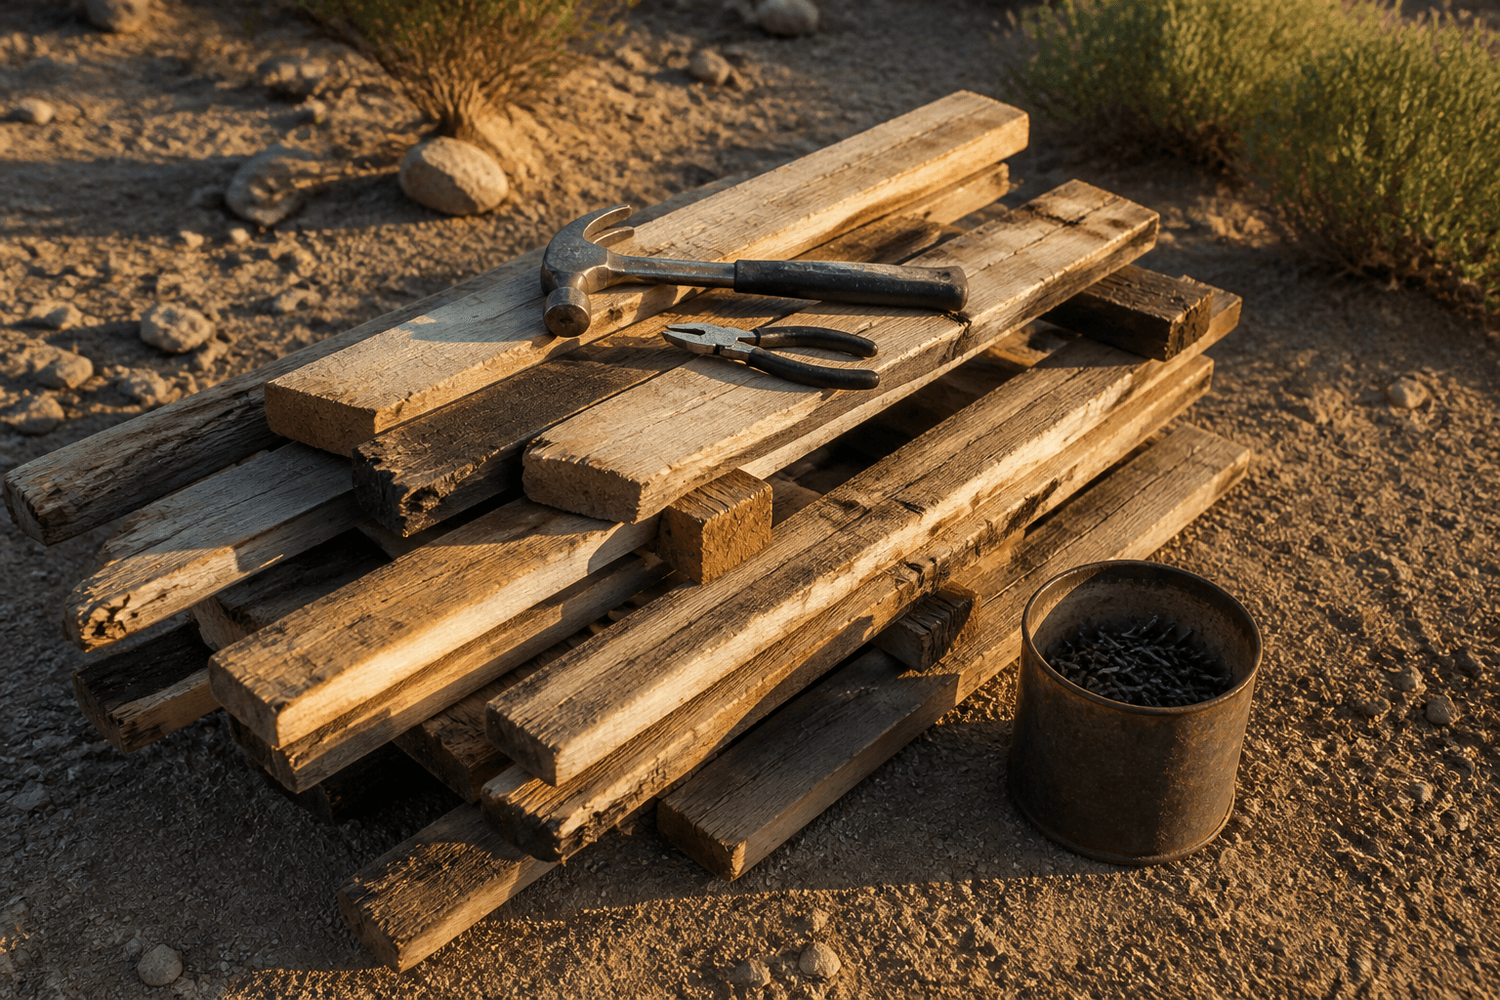
The back wall first: Map out the rectangle for the back of the shed. Pull every screw out of the pallets with pliers and a hammer, then fill the inside of the rectangle with lumber — one board on top of another, overlapping, so rain can't work its way in. When the back wall is done, lift it and check it's square and level before you build anything on top of it.
Front frame and sides: Connect the front frame to the back at the bottom and the top so the structure stands on its own. Make the front the same length as the back — measure it, don't eyeball it. Then close the sides with lumber and 3-inch screws.
The roof: Build two identical roofing frames, set them on top of the base, and connect them front to back. Same overlap rule as the walls — one board on top of the other, so water runs off instead of through. Fill the remaining roof space with lumber and throw some screws in diagonally where the roof meets the top of the frame. Then cover every gap left between the roof and the walls — that's where the rain will find you.
Get it off the ground: Set the whole shed on wooden rafters — this is the one step that takes a second pair of hands. Fill the bottom with lumber to finish the floor, then cover the rafters that stick out with lumber on the outside. That outside floor keeps the base dry, and the whole shed sits better for it.
Doors and the inside: Build two door frames, fill them with lumber, hang them on hinges, add doorknobs. Inside, split it in half: one side for the long stuff — shovels, rakes, lumber — the other side for shelves and hanging tools. Here's the trick worth stealing: hang tools on screws, not hooks. A screw comes out and goes back in anywhere, so the layout changes whenever your tools do. No mapping, no redoing the wall.
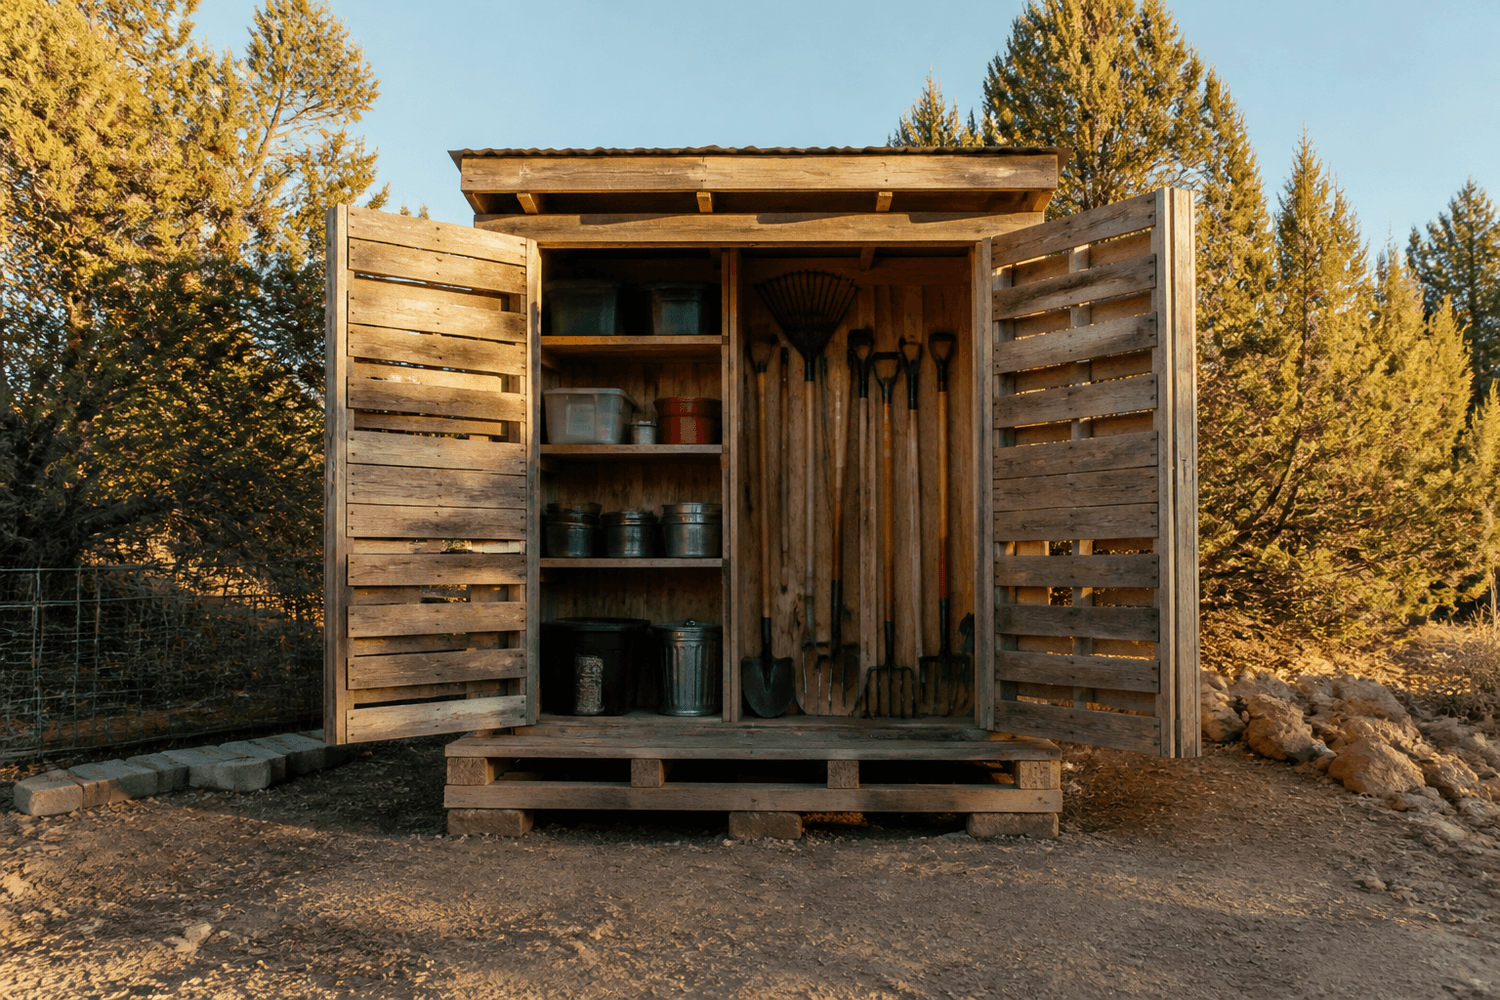
Finish it honest: Varnish or paint it — sun and rain will eat bare pallet wood fast. Mine isn't pretty and it wasn't meant to be. It was built from leftover pallets to get the tools in one place, and it does that job perfectly. It's not anchored to a permanent foundation either, so I can drag it to another corner of the yard if I need to. Want it bigger? Longer lumber, not more pallets — and that's when you start thinking about roof tiles and a window.
50 Best Off-Grid DIY Plans — every build drawn up and step-by-step, $39: dub.co/plans
The Water Hauler's Definitive Guide — the full water system, $39.99 with code WATER101: dub.co/water-guide
The store — everything In Between Ranch in one place: dub.co/store
Book a consult and talk through your setup one-on-one: dub.co/appt
If this build got you thinking, the 50 Best Off-Grid DIY Plans ebook is at dub.co/plans — $39, every plan step-by-step, drawn from builds like this one.